Photography 12
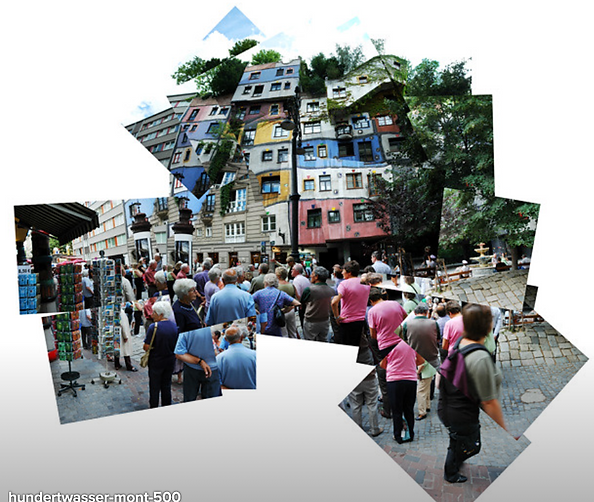
Lesson #6 "Joiners" - David Hockney inspired image

"My Mother, Bolton Abbey"

"Telephone Pole-1982"

"Photographing Annie Leibovitz While She Is Photographing Me"
Hockney's creation of the "joiners" occurred accidentally. He noticed in the late sixties that photographers were using cameras with wide-angle lenses to take pictures. He did not like such photographs because they always came out somewhat distorted. He took Polaroid shots of the living room and glued them together, not intending for them to be a composition on their own. Upon looking at the final composition, he realized it created a narrative, as if the viewer was moving through the room. He began to work more and more with photography after this discovery and even stopped painting for a period of time to exclusively pursue this new style of photography.
Big Idea
How can you create narrative and evoke the feeling of movement and a sense of time through the use of fragmentation and layering of imagery.
Choose a variety of subjects to experiment with to practice your composition and explore how line/shapes/colours fragment in interesting ways.
Part 1
Shooting Assignment: Think of somewhere around Sentinel where you can take a "joiners" photo. A spot inside or outside with a good vantage point that would make for a good composition. Then, think of 3 DIFFERENT locations/compositions anywhere else (at home etc). Fill out your Planning Sheet on Google Classroom. You should have 4 locations or compositions total.
Tips for taking your photos:
-
FIRST, take a shot of the entire scene for reference.
-
Then ZOOM IN and shoot CLOSE UP shots of different fragments of your subject.
-
Shoot the entire scene, try shooting a whole row across the top of your subject, then shoot a whole row below that, then below that, etc until you know you've covered your whole subject.
-
Each shot should OVERLAP the next, so that you don't have any gaps in your final piece.
-
Don't move from where you are standing during the entire time you are shooting. Keep your zoom the same as well.
-
It is better to take too many photos, as opposed to too little.
-
Mix it up, shoot both portrait and landscape
IDEAS FOR SUBJECT MATTER.....

A group of your friends, posed creatively. They can stay still during the shoot or you can allow slight movement between shots for a more "fragmented" look.

It could be as simple as a park bench, chair or desk.
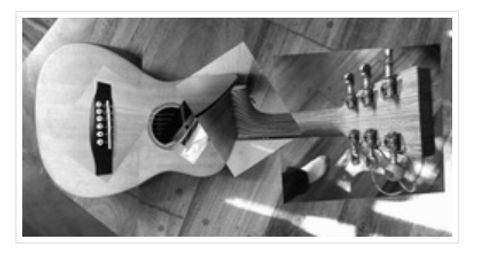
Something important to you, or symbolic of something important to you- a musical instrument, art supplies, sports equipment, your car, etc...

A simple "still-life" of objects you have on you or around you in the classroom... something as simple as your phone on a desk, or a pile of books and papers.

A large panoramic view of the classroom, lunchroom, gymnasium, auditorium, etc. Or your messy bedroom if you are shooting at home.


A simple "still-life" of objects you have on you or around you in the classroom... something as simple as your phone on a desk, or a pile of books and papers.
A portrait of someone working or doing something, allow them to move slightly as you shoot to capture the event unfolding over time...

Your computer desk or workspace. Try to have your hands or feet sneak into one or two of the photos to show your presence, just as Hockney did in many of his photos.
Part 2
The Build
-
Open a new file in photoshop, size 13" by 19" either landscape or portrait orientation, 300 dpi, white fill, mode RGB.
-
Select all your images from a folder on your desktop and drag directly into your file. Each image will be a smart object which means that you will be able to edit them independently for exposure control.
-
Select all your image layers - Command T - to scale them all down at once.
-
Place your images
-
Move your layers up and down the stack to reveal or conceal.
-
Drag over all images to centre
-
Use fx to create a drop shadow - Hold down option to drag that effect to other layers for consistency.
Presentation
- Planning sheet with your 4 location ideas
- 3 contact sheets of your 3 most successful locations - minimum of twenty images each.
- 2 of your favourite final edited compositions, sized 13" by 19", 300 dpi, jpeg.
For Inspiration